If you’re looking to convert your camper but feeling intimidated by the thought of wiring, fear not! “A beginners guide to leisure battery charging and wiring” is here to help. In this video by Combe Valley Campers, you’ll learn about split charge relays and the basics of leisure battery wiring to make your camper dreams a reality. Don’t forget to check out their Patreon Page for online advice and support, and feel free to ask any questions or give the video a thumbs up!
For more projects and services, visit Combe Valley Campers on Facebook and Instagram. Remember, always practice safe techniques when working on vehicles and using tools. Watch the video, get inspired, and take the first steps towards building your dream camper today!

Understanding Leisure Batteries
When it comes to leisure batteries, there are various types available on the market. The most common types include flooded, gel, and AGM batteries. Each type has its own advantages and disadvantages, so it’s essential to choose the one that best suits your needs. Capacity ratings are another crucial aspect to consider when selecting a leisure battery. The capacity of a battery is measured in ampere-hours (Ah) and indicates how much energy the battery can store. Higher capacity batteries can power more appliances for a longer period, making them ideal for extended trips.
Charging Systems for Leisure Batteries
Once you’ve selected a leisure battery, you’ll need a reliable charging system to keep it powered. Some of the common charging systems for leisure batteries include split charge relays, solar panels, and alternator charging. Split charge relays are used to charge the leisure battery from the vehicle’s alternator while preventing the starter battery from draining. Solar panels can be a sustainable charging option, especially for off-grid adventures. Alternator charging, on the other hand, utilizes the vehicle’s engine to charge the leisure battery while driving.
Basic Wiring Connections
Proper wiring connections are essential to ensure that your leisure battery operates efficiently and safely. Understanding the positive and negative terminals is crucial when connecting your battery. Additionally, installing a fuse box in your camper’s electrical system adds a layer of protection against electrical faults. A battery isolator switch allows you to disconnect the leisure battery from the electrical system when not in use, preventing any power drain.
Safety Precautions
Safety should always be a top priority when working with leisure batteries. Proper ventilation is vital to prevent the buildup of hydrogen gas that batteries emit during charging. Overcharging a battery can lead to its premature failure and even pose a safety hazard. Implementing proper grounding techniques can prevent electrical shorts and potential fires.

Tools and Equipment Needed
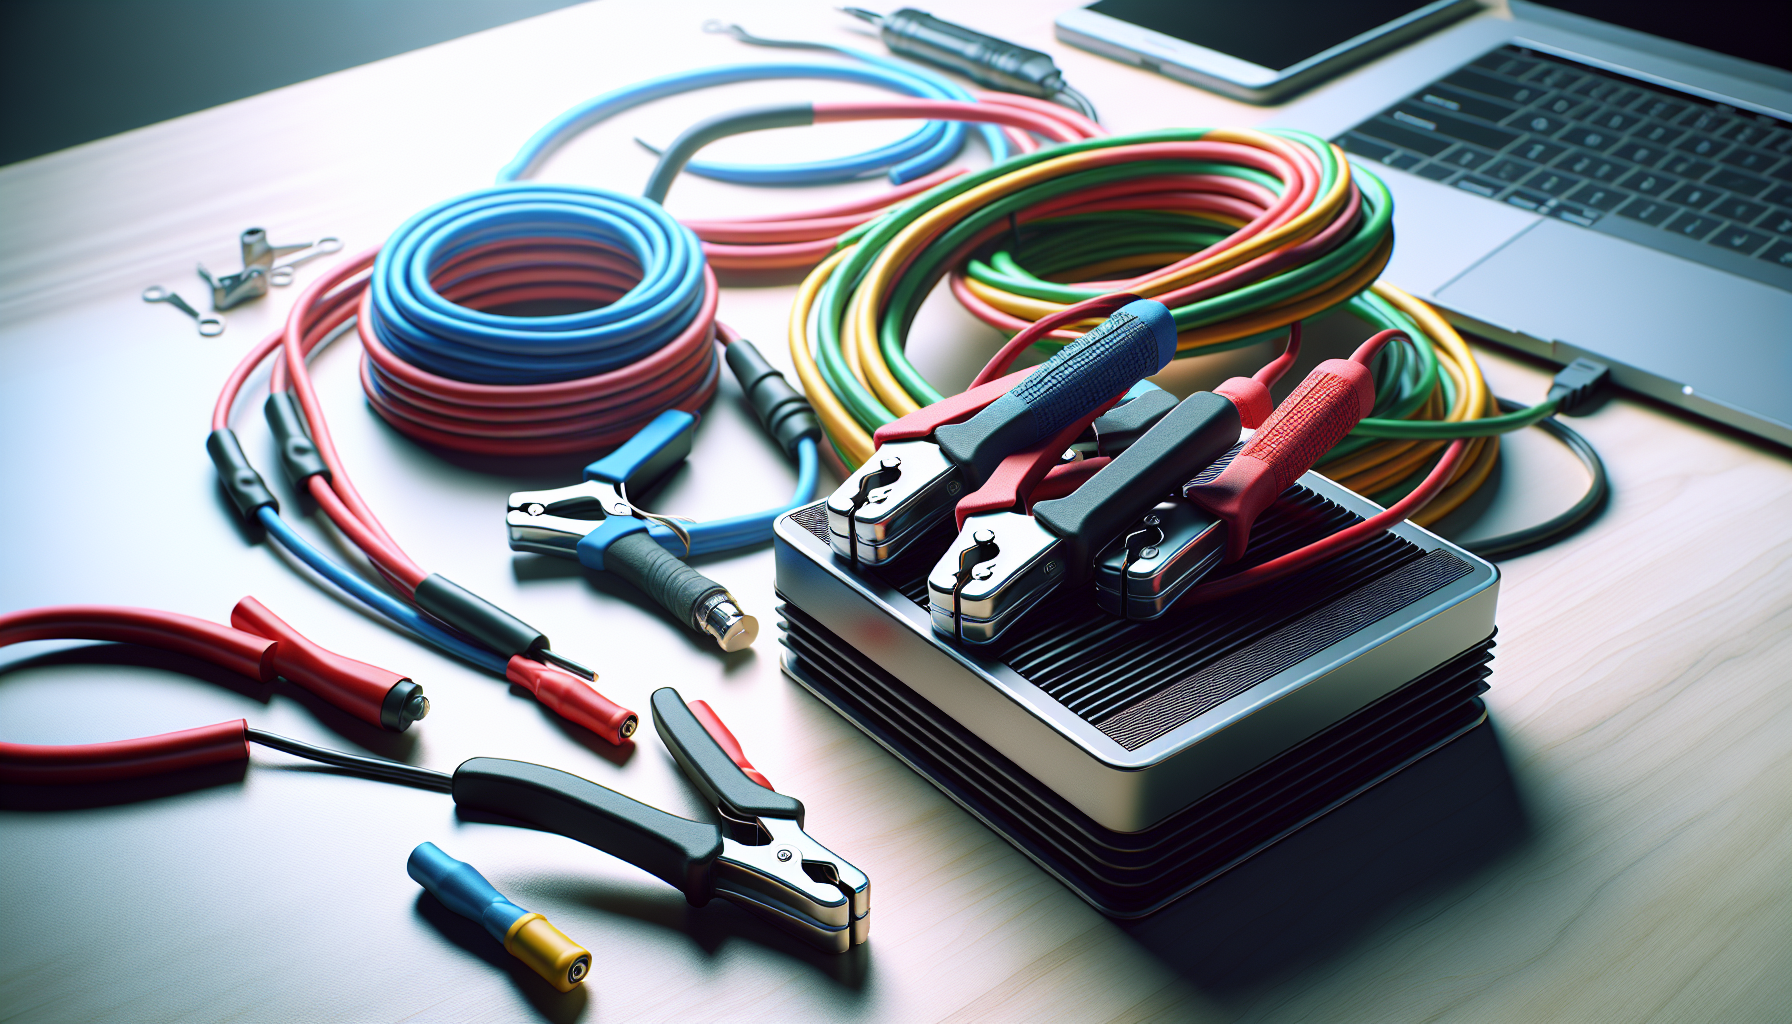
To complete a leisure battery installation, you’ll need specific tools and equipment. A multimeter is essential for testing electrical connections and battery voltage. A wire crimping tool helps secure wires and connectors, ensuring a reliable connection. Battery connectors are necessary to link the leisure battery to the charging system and electrical appliances in your camper.
Step-by-Step Installation Guide
Planning the layout of your electrical system is the first step in installing a leisure battery. Connecting the leisure battery to the charging system involves wiring the positive and negative terminals correctly. After connecting all components, it’s essential to test the wiring connections to ensure everything is operating as intended.

Troubleshooting Common Issues
Sometimes issues may arise with your leisure battery setup. Loose connections can result in power loss, so regularly inspecting and securing all connections is recommended. Blown fuses can disrupt the electrical flow and should be replaced promptly. Testing the battery voltage with a multimeter can help identify any charging or discharging problems.
Expanding Your Electrical System
As you become more familiar with leisure batteries and charging systems, you may want to expand your camper’s electrical setup. Adding additional appliances like fridges or lighting requires a robust electrical system. Upgrading to a larger capacity battery can provide more power for extended trips. Installing a battery monitor allows you to track your battery’s performance and prevent any unexpected power failures.

Resources for Further Learning
For those eager to learn more about leisure batteries and electrical systems in campervans, online forums and communities offer a wealth of knowledge and support. Vehicle-specific wiring diagrams can provide detailed guidance on installing leisure batteries in different camper models. Professional installation services can be a great option for those who prefer expert assistance with their camper’s electrical setup.
Conclusion
In conclusion, understanding leisure batteries and their charging systems is essential for any camper enthusiast. By following the advice provided, you can confidently install and maintain a leisure battery in your camper. Remember to prioritize safety, proper wiring techniques, and regular maintenance to ensure a seamless camper experience. Now that you have the knowledge and resources, it’s time to embark on your leisure battery project and create your dream camper setup.


